


This craft is an origami sailboat. The folding is too complicated for pre-schoolers so I would pre-fold the sailboat to the point where it is flat with the two hulls showing:

These hulls can then be colored by the kids and then opened out as the boat:

This boat will actually float on water, at least until the paper gets soggy, and is the creation of master origamist Sy Chen:

Sy provides an instruction sheet on how to fold this boat from a regular 8.5x11 sheet of typing paper:

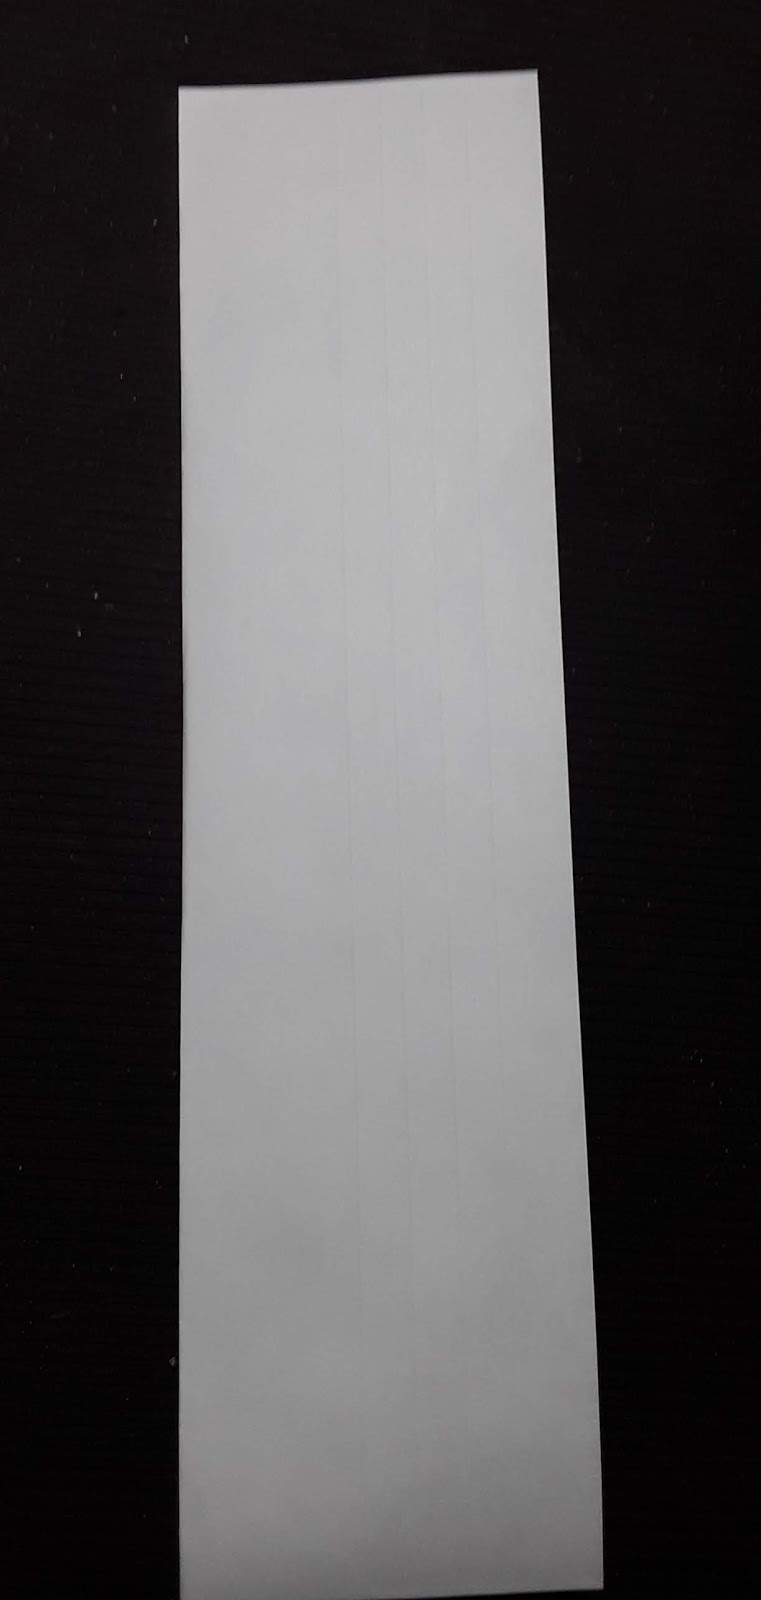
Origami instructions are concise but take some getting used to, so I broke down the paper folding into a number of illustrated steps. You can use any regular piece of typing paper, but I did prepare a starting sheet with hull lines and lines dividing the paper into thirds, as required by the first step.

Folding Step 1: Fold the sheet into thirds without strong creasing and then open out again...

Folding Step 2: Fold the right hand third over and crease strongly:

Folding Step 3: Fold the double right hand third in half without heavy creasing.

Folding Step 4: Open the right third up again:
Folding Step 5: Fold in the top right corner and both the bottom corners to the center crease of the right hand side and crease these folds strongly:

Folding Step 6: Fold the two bottom folds in again to the center line and crease heavily...

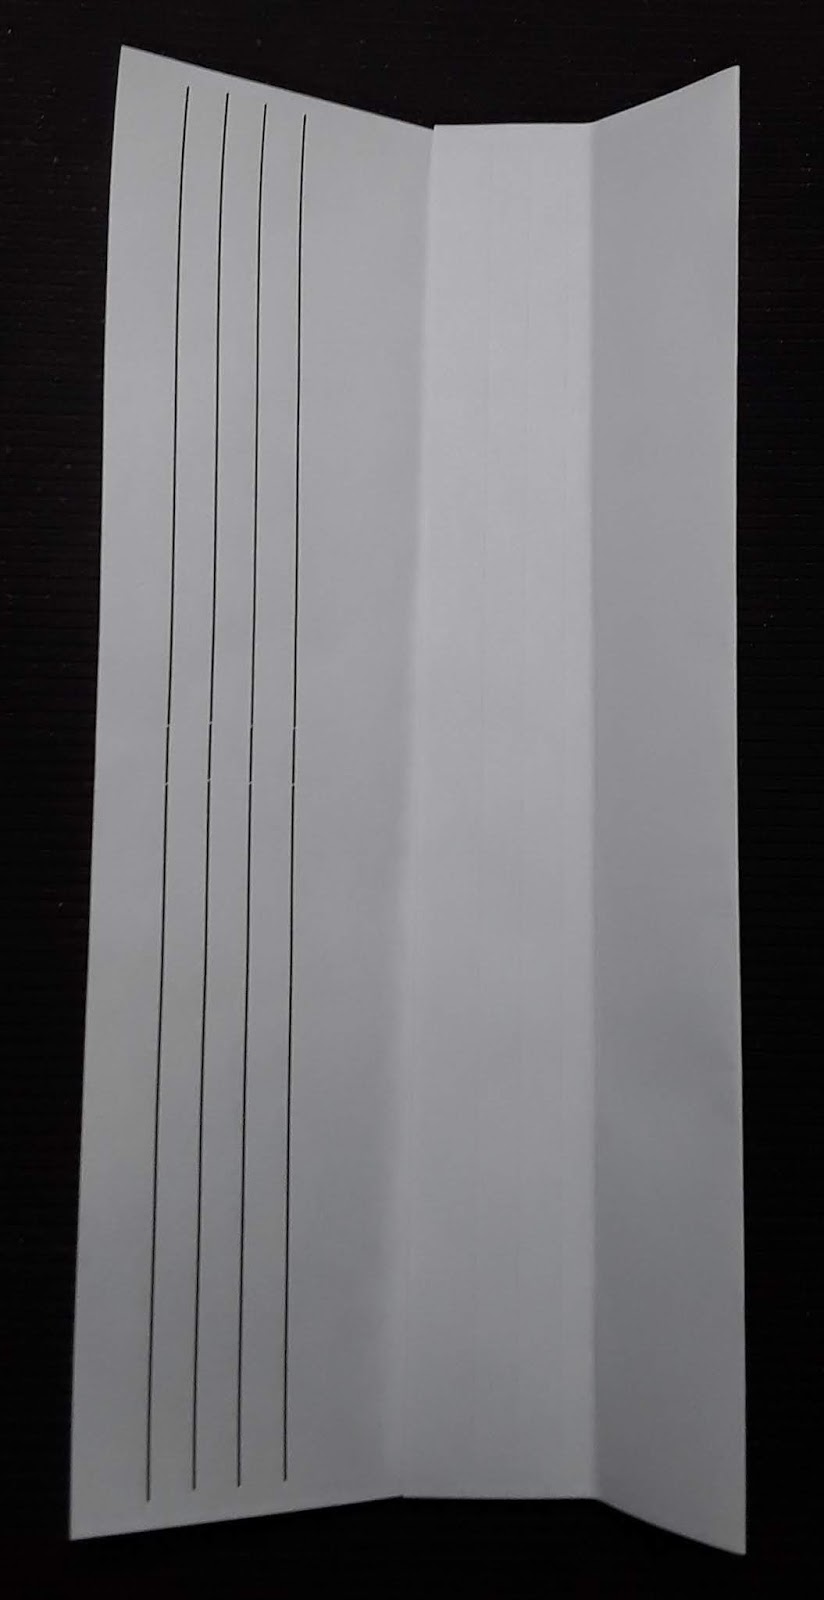
Folding Step 7: Fold the left hand half of the right third over, revealing the hull lines and crease strongly...

Folding Step 8: Fold the left third of the page over the right...
Folding Step 9: Fold in half from the left without creasing strongly...

Folding Step 10: Open out the left hand side again and fold the top and bottom sections into the center crease as we did with the right hand side...


Folding Step 11: Fold the right hand side over and crease strongly, revealing the hull lines on the other side...

Folding Step 12: Fold the top bit in and then out. This will be the back end of the boat...


The boat is now at the flat hulls up stage when you give it to the kids to color the hulls in any way they like...

Now, with some grown-up assistance, the boat is opened up from the middle...
We are now ready to add the family and the sail:

You cut out the family and sail section as shown above and fold the bottom flaps out and mid section in, along the dotted lines.
You can now put the sail and family into the boat. They should just sit in the boat nicely, but can also be glued to the bottom of the boat to anchor them more strongly by putting glue on the flaps. The sail boat is complete!
SAIL BOAT ACTIVITY
Here is the activity I do with the kids prior to working on the craft:
You cut out a set of eight small sailboats (or at least more sailboats than the number of kids!) and scatter them about...

Next you get the file of eight large letters to hold up.
Download the large letters from here


Download the large letters from here
Now you can sing a verse of the Sailboat Song and get the kids to find the sailboat with the matching letter. You will notice that I used the letters that rhyme with "sea"!
BOOKS
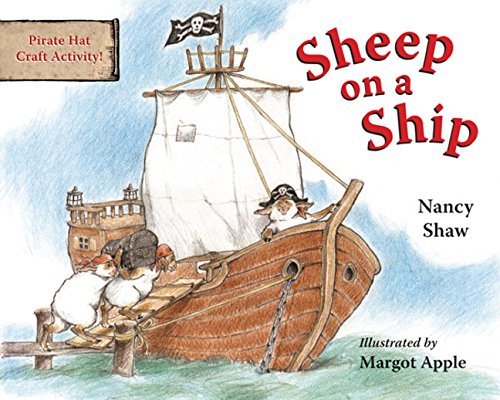
There are lots of great kids books about sailboats. Here are some of my favorites from which I would choose one to read prior to doing the activity and the craft:
No comments:
Post a Comment
Note: Only a member of this blog may post a comment.